

When working with JavaScript events, understanding event propagation is crucial. Two important concepts related to event propagation are event bubbling and event capturing. In this blog post, we will explore these concepts in easy-to-understand language, helping you grasp the fundamentals of event propagation in JavaScript.
Event Bubbling:
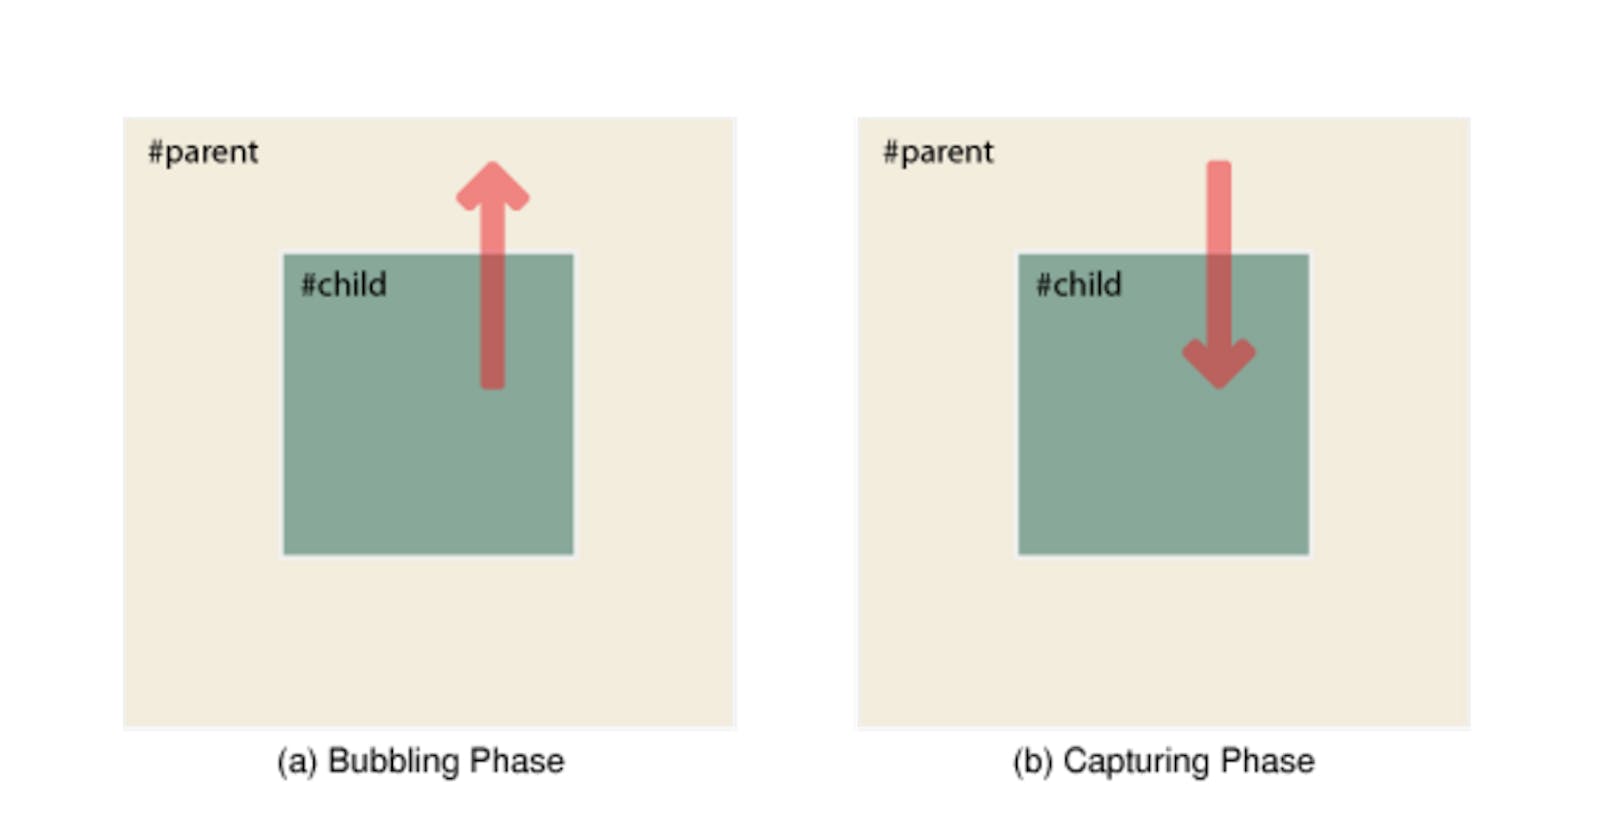
Event bubbling is the default behavior in JavaScript, where an event is triggered on an element, and then the event propagates up through its parent elements in the DOM hierarchy. It starts from the innermost child element and moves up to the outermost parent element. Let's illustrate this with an example:
<div class="outer">
  <div class="inner">
    <button>Click me!</button>
  </div>
</div>
In the above code snippet, if you attach a click event handler to the button element, clicking the button will trigger the event on the button itself. However, the event will also "bubble up" to its parent elements, firing the event on the inner <div> and then on the outer <div>.
Event Capturing:
Event capturing is the opposite of event bubbling. It involves the event being triggered on the outermost element first, then propagating down to the innermost element. To enable event capturing, you need to set the capture flag to true when adding an event listener. Consider the following example:
<div class="outer">
  <div class="inner">
    <button>Click me!</button>
  </div>
</div>
const outerDiv = document.querySelector('.outer');
const innerDiv = document.querySelector('.inner');
const button = document.querySelector('button');

outerDiv.addEventListener('click', () => {
  console.log('Outer div clicked!');
}, true); // Setting capture flag to true

innerDiv.addEventListener('click', () => {
  console.log('Inner div clicked!');
}, true); // Setting capture flag to true

button.addEventListener('click', () => {
  console.log('Button clicked!');
});
In this case, clicking the button will trigger the event first on the outer <div>, then on the inner <div>, and finally on the button itself.
Event.stopPropagation():
The stopPropagation() method allows you to stop the event from propagating further up or down the DOM hierarchy. It can be used within an event handler to prevent bubbling or capturing. For example:
const button = document.querySelector('button');

button.addEventListener('click', (event) => {
  event.stopPropagation();
  console.log('Button clicked!');
});
In this scenario, calling stopPropagation() prevents the event from bubbling or capturing beyond the button element.
Conclusion:
Understanding event bubbling and capturing in JavaScript is essential for effective event handling. Event bubbling follows the natural flow of events from inner elements to outer elements, while event capturing goes in the opposite direction. By grasping these concepts, you can develop better control over event propagation and enhance your JavaScript applications. Remember, you can use stopPropagation() to stop the event from further propagation. Happy coding!